Azure ML Studio Hello World
Introduction to Azure ML Studio
Microsoft has launched Machline Learning Studio to provide a one-stop shop for Machine Learning needs. This includes Notebooks, Pipelines, ML Flow & Blob Storage resources. Additionally various Compute & Inference targets can be configured with ML Studio (e.g. VM, cluster or Databricks).
In particular the ML Flow integration makes this offering attractive as this brings a platform for running ML experiments, storing model parameters and providing a model repository for model management.
A free tier exists for experimentation with ML Studio.
Getting Started
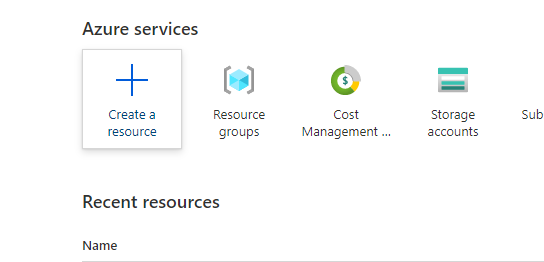
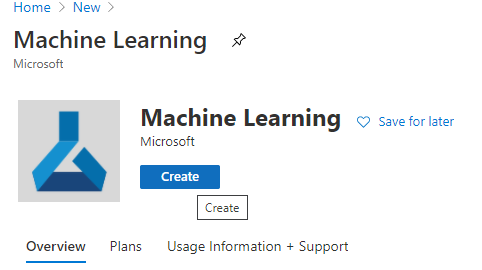
Creating a Machine Learning Studio is similar to any other Azure Resource involving logging into Azure Portal, selecting “Create a Resource”, searching for “Machine Learning” resource type and then creating the Machine Learning resource.


Once the resource is created you can then login at the ML Studio portal to access your ML Studio workspace.
This is also a Programmatic API that can be used for ML Workspace creation if desired.
Hello World
As usual we will now do the absolutely simplest thing possible to make sure we have the basics of ML Workspace setup. In this case we will:
- Setup a local python environment with the Azure SDK
- Download the config.json file to connect our local environment to our Workspace
- Write a simple hello-world python file
- Execute the python file locally
- Storing python file output as logs via Workspace Experiment
This is closely based on this Azure Tutorial.
Creating Local Environment
Per highly-recommended approach we should create a virtual environment for our dependencies:
conda create --name ml-azure python=3.7
conda activate ml-azure
pip install azureml-sdk[notebooks] azureml-pipeline-core azureml-pipeline-steps pandas requests
Download config.json
The Azure SDK looks for a config.json file to connect to your specific ML Workspace. You can download this directly from Azure Portal on the ML Workspace resource page:

Place this into your root folder or into a .azureml folder (preferred). A python Workspace object can then be retrieved via:
from azureml.core import Workspace
ws = Workspace.from_config()
Create a simple hello.py
Create a folder src and put a simple hello.py script in the folder:
print("Hello World")
Create your experiment driver
This is the file that executes the hello.py script and stores the results in the ML Workspace as an Experiment:
from azureml.core import Environment, Experiment, ScriptRunConfig, Workspace

ws = Workspace.from_config()
experiment = Experiment(workspace=ws, name="hello-world-experiment")

# Setup for a local environment execution:
myenv = Environment("user-managed-env")
myenv.python.user_managed_dependencies = True

# Execute the experiment:
config = ScriptRunConfig(
    source_directory="./src",
    script="hello.py",
    compute_target="local",
    environment=myenv,
)

# Store experiment results:
run = experiment.submit(config)
aml_url = run.get_portal_url()

print("You can access experiment results at:")
print(aml_url)
If you wanted to run the hello script on a remote target see instructions in original tutorial.
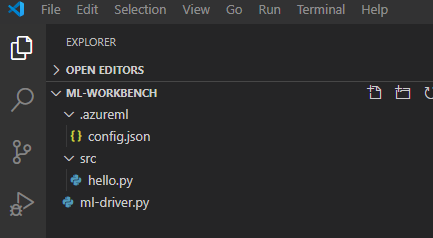
Your directory structure should now look like:

Execute
you can now execute the driver. It will process the ScriptRunConfig and store Experiment logs in ML Workspace:
python ml-driver.py
You will get a printed output that provides a url to stored Experiment results.
View Results
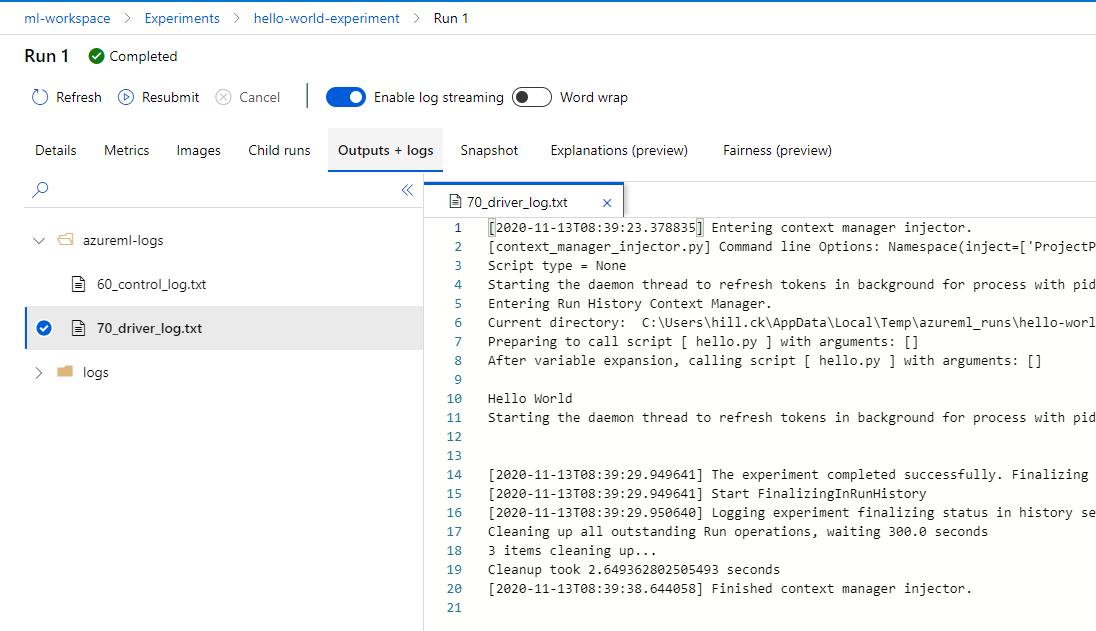
In this case there are no analytic outputs - just logs of the print to Hello World:

The “control log” is output from ml-driver.py while the “driver log” is output from hello.py (sorry about that naming confusion!)
